Import a GeoPackage and check the result
Download the three practice lots linked below, or use your own parcel GeoPackage. If you have just completed the AutoCAD exercise, use the GeoPackage you exported.
Download the three practice lots (.gpkg). The screenshots use this file. Its three polygons have shifted positions and replacement identifiers.
Access for this tutorial
Use QGIS to inspect the file and a LandWeave account with Editor access to an empty practice dataset to import it. You can use an ordinary login or an existing Editor tab. See Tutorial access.
1. Inspect one lot before uploading
Drag the GeoPackage from your file manager into the QGIS map window. Right-click the layer, open Properties and look under Information for its geometry, feature count and coordinate reference system (CRS). The download contains three polygons in WGS 84 / UTM zone 20N (EPSG:32620). For your own file, check that it contains one polygon layer in a declared projected CRS. If the CRS is missing, check the source before continuing.
Open the attribute table. Choose a row, copy its parcel identifier and zoom to that feature. Note its shape and orientation. For the three-lot download, use PRACTICE-01 in parcel_id. If you exported the practice AutoCAD drawing, use TRAIN-03, the five-sided lot. If you are preparing the corner-correction exercise, use LOT-A from its two-lot file.
2. Choose the file and check the mapping
In LandWeave, open Bulk Upload and read Target dataset before choosing the file. Under Field Mapping (Optional), the Parcel ID Field refers to the column name in the file. A lot number or the row number in QGIS may identify something different.
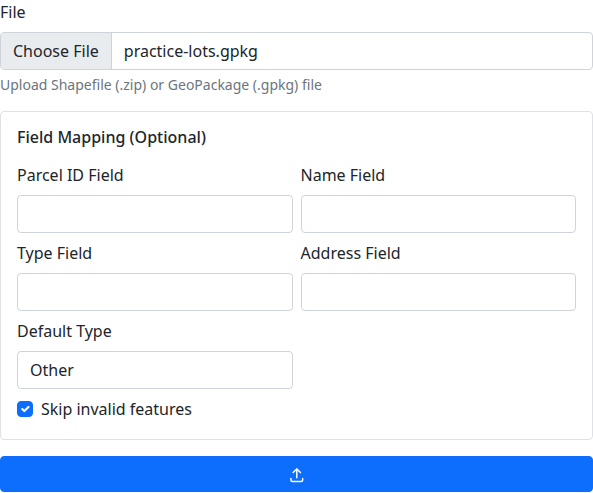
For the three-lot file, leave the field mapping on automatic, keep the default parcel type and select Skip invalid features. Its only source attribute is parcel_id. For your own file, enter the identifier column name if it differs and check any optional fields you want to map. Select Upload and Analyze.
3. Read the preview
Check the filename, dataset, total, and the counts for new, matched, duplicate, conflicted and invalid rows. Find the ID you copied in the preview. A match is against an existing ID in this dataset. A duplicate can occur within the incoming file.
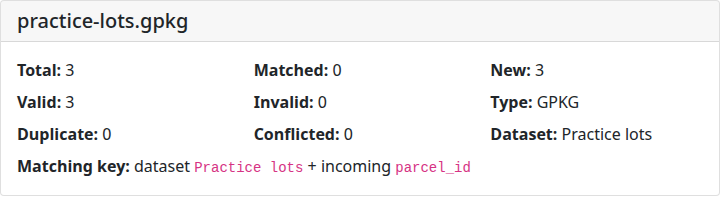
In an empty dataset, expect 3 new for the three-lot download or the complete practice CAD export, and 2 new for the corner-correction file. For your own file, compare the preview with the feature count and identifiers you saw in QGIS. If the counts differ, inspect the affected rows and confirm the dataset before proceeding.
4. Create drafts and check one boundary
Select Create Drafts. Read Upload Status and compare the created, skipped and failed counts with the preview. A row can pass the preview and still fail during creation.
On the status page, follow the link for your chosen parcel ID. Check that the workspace shows Draft, read the identifier and compare the outline, orientation and corners with the selected feature in QGIS. Use the same map scale where possible.
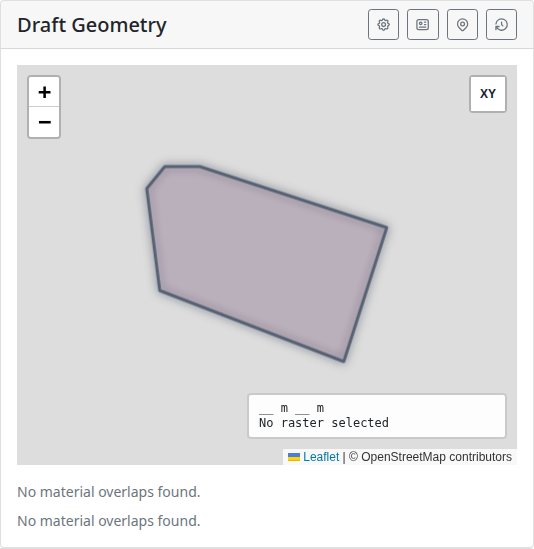
Record the source CRS, how many drafts were created and which lot you checked. These drafts still need submission, review and approval before they become official parcels. Continue with the workflow exercise to practise that handoff.